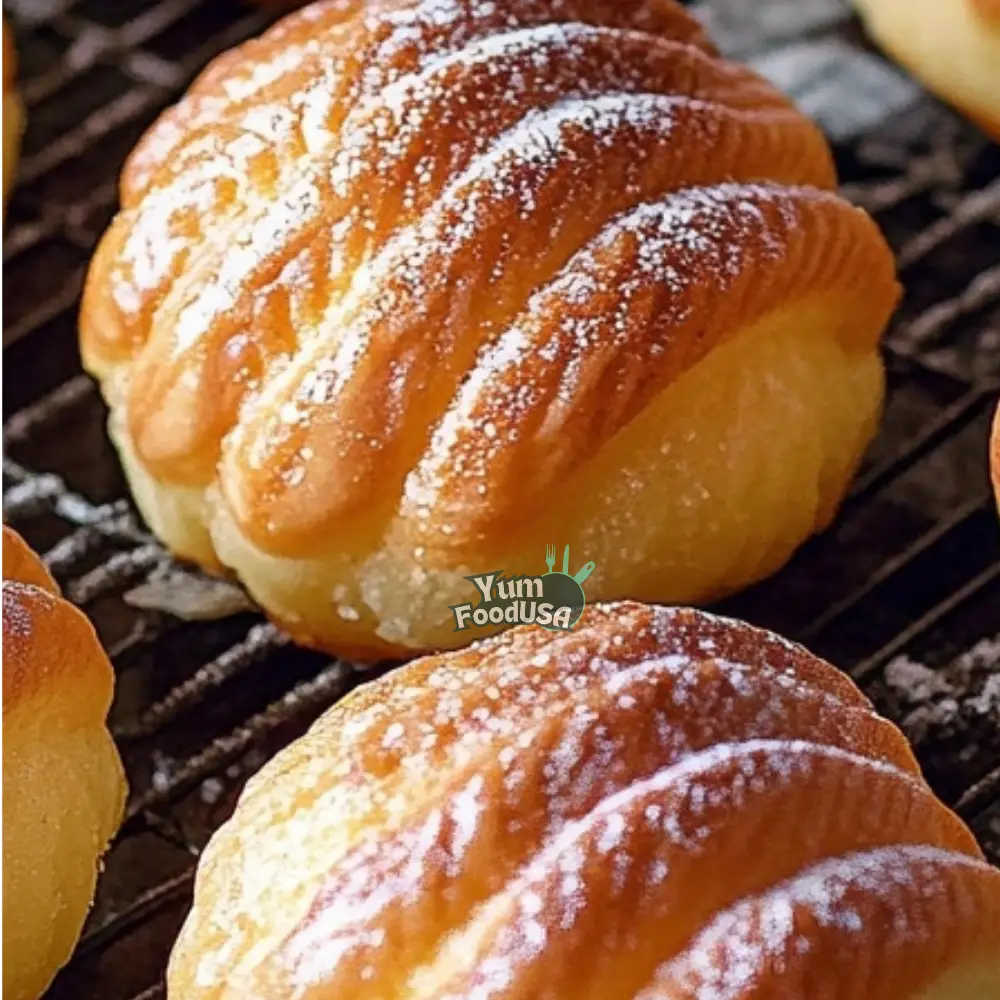
Manteconchas are a delightful fusion of traditional Mexican conchas and cupcakes. These miniature sweet breads feature a soft, fluffy dough topped with a crunchy, colorful concha topping, making them a fun and visually appealing treat. Perfect for breakfast, dessert, or a sweet snack, these manteconchas are easy to customize with different colors and flavors.
Why You’ll Love This Recipe
- Traditional with a Twist – Combines the beloved concha with a convenient cupcake shape.
- Soft & Fluffy – The dough is light, airy, and buttery.
- Crunchy Topping – A classic concha topping adds texture and sweetness.
- Customizable Colors & Flavors – Use different food colorings or cocoa powder for variety.
- Perfect for Any Occasion – Great for breakfast, celebrations, or as a fun baking project.
Ingredients
(Tip: You can find the complete list of ingredients and their measurements in the recipe card below.)
For the Dough:
- 3 ½ cups all-purpose flour
- 2 ¼ tsp active dry yeast (1 packet)
- ½ cup warm milk (110°F)
- ⅓ cup granulated sugar
- 2 large eggs
- ½ tsp salt
- 1 tsp vanilla extract
- ¼ cup unsalted butter (softened)
For the Concha Topping:
- ½ cup unsalted butter (softened)
- ½ cup powdered sugar
- 1 cup all-purpose flour
- 1 tsp vanilla extract
- Food coloring (pink, yellow, blue, chocolate, or any desired colors)
- 2 tbsp cocoa powder (for chocolate topping)
Directions
Prepare the Dough:
- Activate the Yeast – Dissolve yeast in warm milk and let sit for 5-10 minutes until foamy.
- Mix Ingredients – In a large bowl, combine flour, sugar, and salt. Add eggs, vanilla, and softened butter. Pour in the yeast mixture.
- Knead the Dough – Knead for 8-10 minutes until smooth and elastic.
- Let it Rise – Cover and let the dough rise in a warm place for 1-2 hours or until doubled in size.
Make the Topping:
- Cream Butter & Sugar – In a separate bowl, mix softened butter and powdered sugar until smooth.
- Add Flour & Vanilla – Gradually mix in flour and vanilla extract until a thick dough forms.
- Color the Topping – Divide into portions and add food coloring as desired. For a chocolate topping, mix in cocoa powder.
Assemble the Manteconchas:
- Prepare the Muffin Tin – Line a muffin tin with cupcake liners.
- Shape the Dough – Divide the risen dough into 12-14 equal portions and place each ball into a cupcake liner.
- Add the Topping – Roll out the colored topping into small discs and gently press over each dough ball.
- Create the Concha Pattern – Use a knife to score traditional shell-like patterns into the topping.
Bake & Enjoy:
- Preheat Oven – Set to 350°F (175°C).
- Bake – Bake for 18-20 minutes or until golden and set.
- Cool & Serve – Let the manteconchas cool before serving.
Servings and Timing
- Servings: 12-14 mini conchas
- Prep Time: 20 minutes
- Rise Time: 1-2 hours
- Cook Time: 18-20 minutes
- Total Time: 2 hours 40 minutes
Variations
- Different Flavors – Add cinnamon, almond extract, or orange zest to the dough for extra flavor.
- Nutty Topping – Sprinkle chopped nuts or coconut over the topping before baking.
- Filled Manteconchas – Fill the dough with dulce de leche, Nutella, or fruit jam for a surprise inside.
- Vegan Option – Use dairy-free butter and a plant-based milk alternative.
Storage/Reheating
- Storage: Keep in an airtight container at room temperature for up to 3 days.
- Refrigeration: Store in the refrigerator for up to 5 days for longer freshness.
- Freezing: Freeze baked manteconchas in a sealed bag for up to 2 months. Thaw at room temperature before serving.
- Reheating: Warm in the microwave for 10-15 seconds or in a 300°F oven for 5 minutes.
FAQs
What is a manteconcha?
A manteconcha is a mini version of the traditional Mexican concha, baked in a cupcake form for easy serving.
Can I use instant yeast instead of active dry yeast?
Yes, but reduce the amount to 2 tsp and skip the proofing step, mixing it directly into the flour.
Why didn’t my dough rise?
Ensure your yeast is active by proofing it in warm milk (110°F). If the milk is too hot or too cold, the yeast may not activate properly.
How do I get the concha topping to stick to the dough?
Press it gently onto the dough before baking, ensuring it covers the surface well. The dough will expand, so avoid stretching the topping too thin.
Can I make these ahead of time?
Yes, prepare the dough a day in advance, refrigerate overnight, and bake fresh the next day.
How do I achieve vibrant topping colors?
Use gel food coloring instead of liquid food coloring for more intense colors.
Can I make these without food coloring?
Yes, you can leave the topping natural or use cocoa powder for a chocolate version.
Do I need a stand mixer to knead the dough?
No, you can knead the dough by hand, but a stand mixer with a dough hook makes it easier.
Why is my topping cracking?
If the topping is too dry, add a little more butter to make it more pliable before rolling it out.
What can I serve with manteconchas?
Enjoy them with coffee, hot chocolate, or a glass of warm milk for a perfect pairing.
Conclusion
Manteconchas are a creative and delicious take on traditional conchas, combining the rich, buttery flavors of pan dulce with the convenience of a cupcake shape. Whether you customize them with different colors, flavors, or fillings, these mini concha cupcakes are sure to be a hit at breakfast or as a sweet treat any time of the day.


