
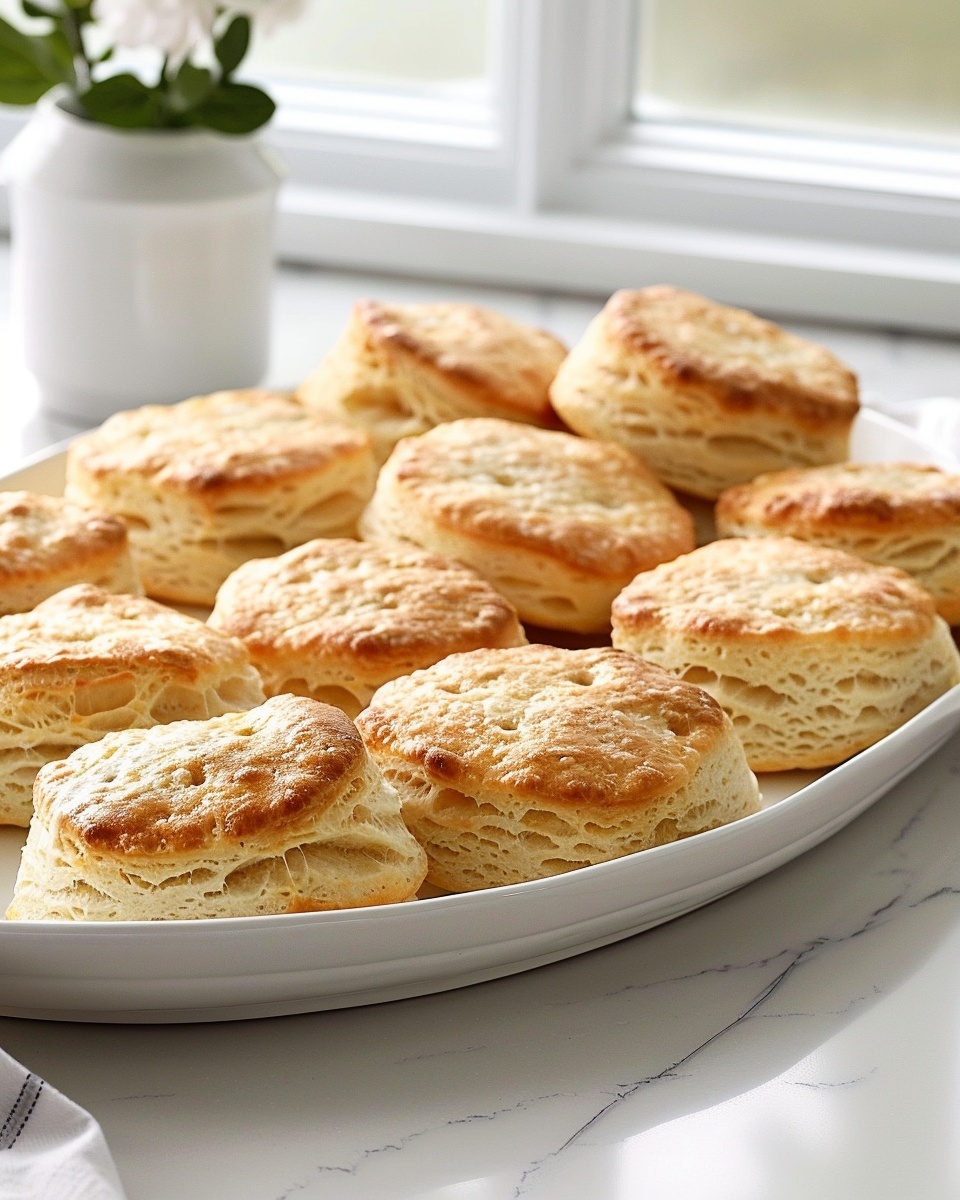
Imagine the irresistible warmth of fresh-from-the-oven biscuits filling your kitchen, with that delicate tang of sourdough greeting your senses. These Fluffy Sourdough Discard Biscuits Recipe captures that magic perfectly, delivering soft, tender layers that practically melt in your mouth. The golden tops, brushed with butter, beckon you to pull one apart and savor the light, airy crumb within. And the best part? You’ll have these delightful treats ready in just 30 minutes, making them a speedy yet scrumptious addition to any meal.
Why You’ll Love This Fluffy Sourdough Discard Biscuits Recipe
- Deliciously Tender Texture: Thanks to the sourdough discard and cold butter, these biscuits develop a beautifully soft, fluffy crumb that’s perfect for breakfast or any time you crave a comforting bite.
- Simple Ingredients: This recipe relies on common pantry staples like all-purpose flour, baking powder, sugar, and milk — plus that magical sourdough discard — so you can whip it up without hunting down anything fancy.
- Quick and Easy Preparation: From mixing to baking, everything comes together smoothly, with just 15 minutes of active prep and 15 minutes in the oven, resulting in a total time of 30 minutes.
- Impressive Presentation: The layered rolling and folding technique creates those delicate flaky layers that make guests think you spent hours in the kitchen.
- Customizable for Your Taste: Whether you want to add a sprinkle of herbs or brush on melted butter for that extra sheen, this recipe invites all kinds of personal touches to make it uniquely yours.
Why This Fluffy Sourdough Discard Biscuits Recipe Works
The magic behind these biscuits lies in a few brilliant details. First, the cold unsalted butter is grated into the flour mix, ensuring tiny pockets of fat that create those flaky layers as the dough bakes. The sourdough discard doesn’t just add moisture—it brings a subtle tang that brightens the flavor profile without overpowering it. Plus, the method of rolling and folding the dough in thirds multiple times develops tender layers and avoids overworking the dough, keeping the biscuits light and airy. Using a moderate oven heat of 425°F crisps the edges beautifully while keeping the centers soft.
Ingredients You’ll Need
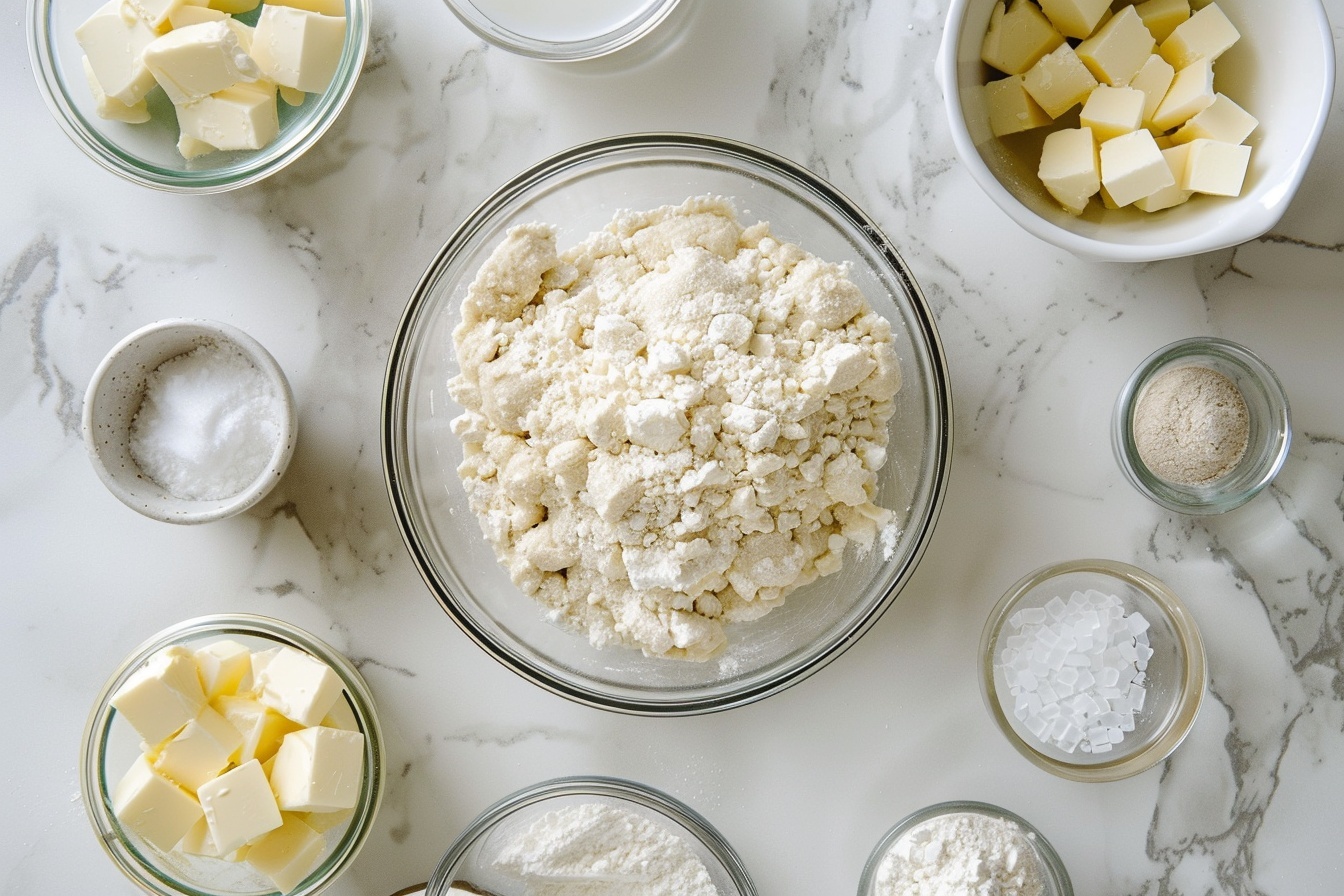
For these irresistible biscuits, gather some everyday essentials with a touch of sourdough magic. From all-purpose flour’s soft foundation to the creamy tang of sourdough discard, each ingredient plays a crucial role in crafting these fluffy delights.
- 2 cups all-purpose flour (spooned and leveled): The sturdy base that forms the biscuit’s tender crumb.
- 1 tbsp baking powder: Gives that essential rise and fluffiness.
- 1 tsp sugar: Adds a subtle sweetness to balance the tang.
- ¾ tsp salt: Enhances all the flavors for a savory touch.
- ½ cup unsalted butter (cold): The secret to flaky layers and buttery richness.
- 1 ½ cups sourdough discard: Brings moisture and lovely tang, plus a zero-waste bonus!
- ½ cup milk (cold): Binds everything gently, keeping the dough soft and workable.
Ingredient Substitutions & Tips
- All-purpose flour: You can try whole wheat flour for a nuttier flavor, but start with half whole wheat and half all-purpose for best texture.
- Unsalted butter: If you only have salted butter, reduce the added salt slightly to avoid oversalting.
- Sourdough discard: If you don’t have sourdough discard, plain yogurt can work as a substitute, though the flavor will be less tangy.
- Milk: Buttermilk or dairy-free milk alternatives like oat or almond milk can be used to add subtle flavor variations.
👨🍳 Pro Tips for Perfect Results
- Keep everything cold: From the butter to the milk, chilling ingredients helps create flaky biscuit layers.
- Don’t overmix: Stir just until combined to avoid tough biscuits.
- Fold gently: The rolling and folding develops layers without toughening the dough.
- Biscuit cutter choice: Use a sharp round cutter and press straight down without twisting to keep edges crisp.
- Brush with butter: A quick brush of melted butter after baking adds shine and richness.
How to Make Fluffy Sourdough Discard Biscuits Recipe
Step 1: Preheat oven
Let your oven heat up to a toasty 425°F while you prep—a warm oven is the key to that golden, crunchy top you’re yearning for. Line a baking sheet with parchment paper so your biscuits don’t stick and come off easily.
💡 Pro Tip: Preheating the oven fully ensures even baking and a perfect rise.
Step 2: Combine dry ingredients
Gather all your dry ingredients—flour, baking powder, sugar, and salt—and mix them well in a large bowl. This builds the flavor base and evenly distributes the leavening.
💡 Pro Tip: Whisking these together can help avoid lumps and clumps.
Step 3: Add butter
Grate the cold butter right into the flour mixture. This technique creates tiny butter pockets that melt during baking, giving your biscuits those flaky, tender layers.
💡 Pro Tip: Keep the butter cold—warm butter won’t produce flaky layers.
Step 4: Mix wet ingredients
Whisk your sourdough discard with the cold milk until completely smooth. This liquid blend adds moisture and that signature tangy flavor that makes these biscuits stand out.
💡 Pro Tip: Smooth wet ingredients blend more easily into the dry mixture for tender dough.
Step 5: Combine mixtures
Pour the liquid into the dry and stir gently until just combined. Be careful not to overmix; you want a soft, slightly shaggy dough, not a sticky mess.
💡 Pro Tip: The dough will look a little loose—that’s exactly right!
Step 6: Roll dough
Turn the dough onto a floured surface and roll it out to about half an inch thick. This primes it for the folding that builds flaky layers, so take your time and be gentle.
💡 Pro Tip: Flour your hands and rolling pin well to prevent sticking.
Step 7: Fold dough
Fold the dough into thirds like a letter, then roll it out and fold again two more times. This step creates beautiful layers that give these biscuits their signature fluff.
💡 Pro Tip: Don’t press too hard when folding to keep the layers distinct.
Step 8: Roll thick
Finally, roll out the dough to about 1 inch thick—this thickness ensures tall, fluffy biscuits that won’t be flat as pancakes.
💡 Pro Tip: Keep the dough uniform in thickness to bake evenly.
Step 9: Cut biscuits
Use a biscuit cutter to stamp out rounds, then gently transfer each to your prepared baking sheet. Don’t twist the cutter as you press—the edges stay sharper and rise better if you cut straight down.
💡 Pro Tip: Press scraps together gently and cut out more biscuits to minimize waste.
Step 10: Bake
Pop those beauties into the oven and bake for 13 to 15 minutes until they’re puffed with golden tops and inviting aroma. This short bake time keeps them moist inside.
💡 Pro Tip: Keep an eye toward the end to avoid over-browning.
Step 11: Finish with butter
The final flourish: brush melted butter over the hot biscuits right as they come out. This adds a luscious shine and extra buttery richness you won’t be able to resist.
💡 Pro Tip: Use salted butter here if you want a perfectly balanced savory finish.
Common Mistakes to Avoid
Learn from these common pitfalls:
- Overmixing the dough: Leads to tough biscuits instead of light and fluffy.
- Using warm butter: Prevents flaky layers from forming properly.
- Twisting the biscuit cutter: Can seal edges and inhibit rise.
- Rolling dough unevenly: Results in inconsistent baking and texture.
- Skipping the folding step: You miss out on those gorgeous flaky layers.
- Baking at the wrong temperature: Too low leads to dense biscuits; too high burns them.
Delicious Variations to Try
Once you’ve mastered this classic Fluffy Sourdough Discard Biscuits Recipe, it’s fun to experiment with subtle twists to keep your taste buds delighted.
Cheddar and Chive Biscuits
Fold shredded sharp cheddar and freshly chopped chives into the dough before cutting to add a savory, cheesy punch that’s perfect for brunches or soups.
Herb-Infused Biscuits
Mix in herbs like rosemary or thyme with the dry ingredients for a fragrant and earthy flavor that pairs beautifully with roasted veggies.
Garlic Butter Biscuits
Brush the tops with a garlic butter blend after baking to give a rich, aromatic finish that’s irresistible as a dinner side.
Sweet Cinnamon Honey Biscuits
Sprinkle cinnamon and a drizzle of honey onto the finished biscuits for a sweet treat perfect for breakfast or tea time.
How to Serve Fluffy Sourdough Discard Biscuits Recipe
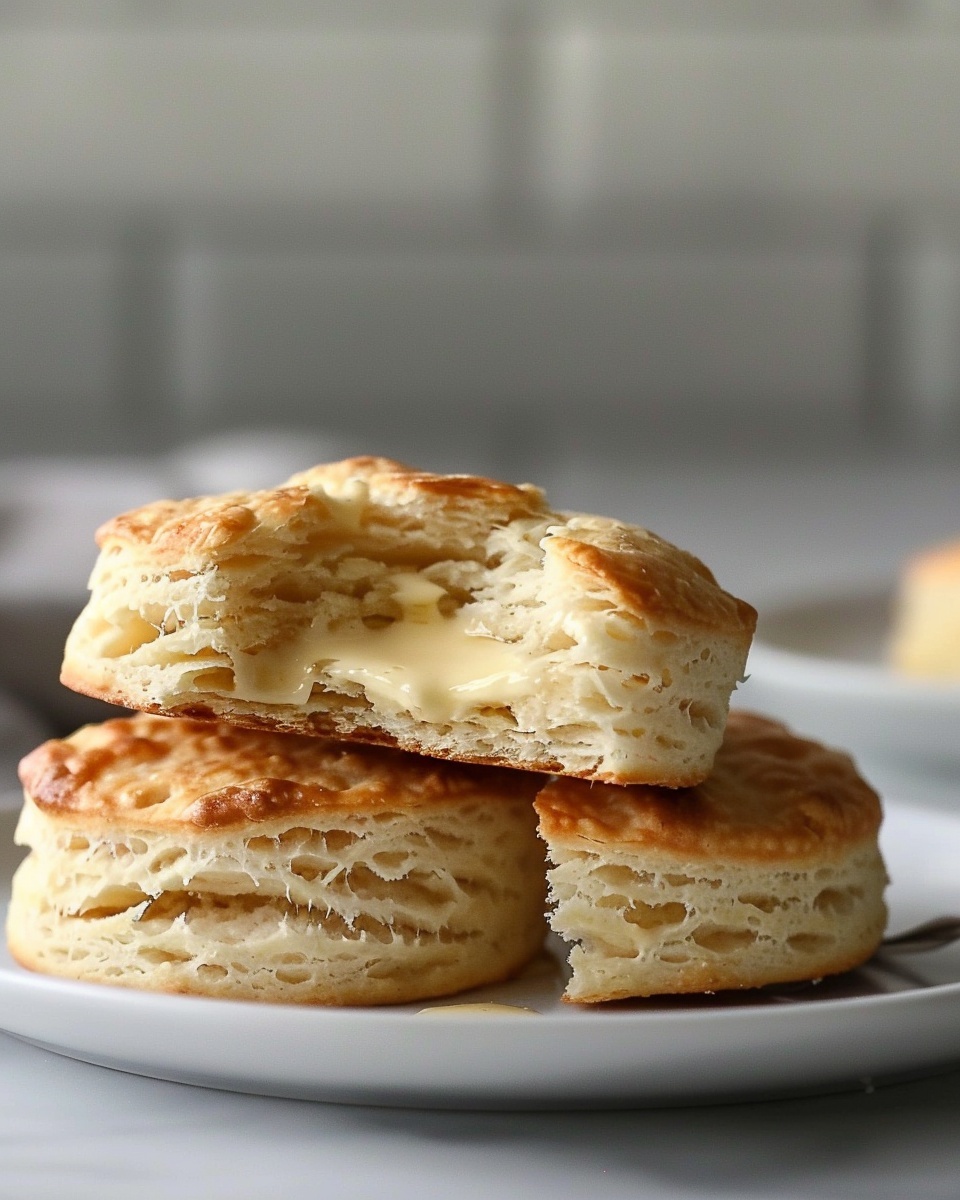
Garnishes
A dollop of homemade jam, a smear of tangy cream cheese, or a pat of butter resting on warm biscuits elevate the experience beautifully.
Side Dishes
Pair these biscuits with hearty dishes like creamy chicken stew, chili, or a fresh garden salad for a well-rounded meal bursting with comfort.
Creative Ways to Present
Serve stacked high in a basket lined with a clean cloth napkin for a cozy family-style feel, or arrange them on a wooden board with bowls of assorted spreads for a festive brunch table.
Make Ahead and Storage
Make-Ahead Instructions
You can prepare the biscuit dough a day ahead, cover it tightly with plastic wrap, and refrigerate. When ready, simply roll, cut, and bake as directed.
Storage
Store leftovers in an airtight container at room temperature for up to 2 days to maintain their soft texture.
Freezing
Wrap unbaked biscuit rounds individually and freeze for up to 1 month. Bake straight from frozen—just add a few extra minutes to the baking time.
Reheating
Rewarm biscuits in a low oven (around 350°F) for 5-7 minutes or microwave briefly wrapped in a damp paper towel to keep them moist.
Expert Tips for Success
- Always use cold butter and milk to keep the dough tender and flaky.
- Be gentle when folding and rolling to avoid developing gluten, which toughens biscuits.
- Don’t skip the brushing of melted butter after baking—it adds irresistible flavor and shine.
- Cut biscuits close together on your baking sheet to encourage rising upwards rather than spreading out.
- Use a sharp biscuit cutter and press straight down without twisting for crisp edges and better rise.
- Let the oven fully preheat before baking for best texture.
- Add a sprinkle of flaky sea salt on top before baking for an extra flavor boost.
Frequently Asked Questions
Can I use sourdough discard without feeding it?
Yes! This recipe works great with discard straight from the fridge, no need to feed it first. Just give it a good stir before measuring.
What can I substitute for sourdough discard?
If you don’t have sourdough discard, plain yogurt or buttermilk can be used, though the flavor will be less tangy and slightly different.
How long do these biscuits stay fresh?
At room temperature in an airtight container, they stay fresh for up to 2 days. For longer storage, freezing is recommended.
Can I make these biscuits vegan?
You can try swapping the butter for a solid vegan butter and using a plant-based milk, but the texture might be a bit different.
Why do we fold the dough multiple times?
Folding creates layered textures by distributing the butter and dough evenly, resulting in those beautiful flaky biscuits.
Is it important to not twist the biscuit cutter?
Absolutely! Twisting seals the edges which can prevent the biscuits from rising properly. Press straight down and lift for best results.
Can I add flavors like cheese or herbs?
Definitely! Fold in grated cheese or fresh herbs during mixing for tasty variations that add character to these biscuits.
Final Thoughts
This Fluffy Sourdough Discard Biscuits Recipe is a comforting embrace for your taste buds and an excellent way to honor your sourdough starter. It’s a recipe that invites you to savor both the process and the joyous results—golden, buttery biscuits that feel like a hug on a plate. Whether for a casual breakfast or a special gathering, these biscuits bring warmth and satisfaction every time. I honestly can’t wait for you to try them and make this recipe a new favorite in your kitchen!
PrintFluffy Sourdough Discard Biscuits Recipe

These Fluffy Sourdough Discard Biscuits are quick and easy to make, ready in just 30 minutes with a tender crumb and golden crust, perfect for using up your sourdough discard.
- Prep Time: 15 minutes
- Cook Time: 15 minutes
- Total Time: 30 minutes
- Yield: 12 servings 1x
- Category: Baking
- Method: Baking
- Cuisine: American
- Diet: Vegetarian
Ingredients
Ingredients
- 2 cups all-purpose flour (spooned and leveled)
- 1 tbsp baking powder
- 1 tsp sugar
- 3/4 tsp salt
- 1/2 cup unsalted butter (cold)
- 1 1/2 cups sourdough discard
- 1/2 cup milk (cold)
Instructions
- Preheat Oven: Preheat your oven to 425°F and line a large baking sheet with parchment paper.
- Mix Dry Ingredients: In a large bowl, combine the flour, baking powder, sugar, and salt. Stir until well blended.
- Add Butter: Grate the cold butter into the flour mixture.
- Mix Wet Ingredients: In a medium bowl, whisk together the sourdough discard and milk until completely smooth.
- Combine Mixtures: Pour the milk mixture into the flour mixture and stir gently until just combined.
- Roll Dough: Turn the dough onto a generously floured surface and roll it out to about ½ inch thick.
- Fold Dough: Fold the dough into thirds like a letter and repeat the rolling and folding two more times.
- Roll to Thickness: Roll the dough to about 1 inch thick.
- Cut Biscuits: Use a biscuit cutter to cut out circles and transfer them to the prepared baking sheet.
- Bake: Bake for 13-15 minutes, or until golden brown.
- Finish: Brush the tops with melted butter as they come out of the oven.